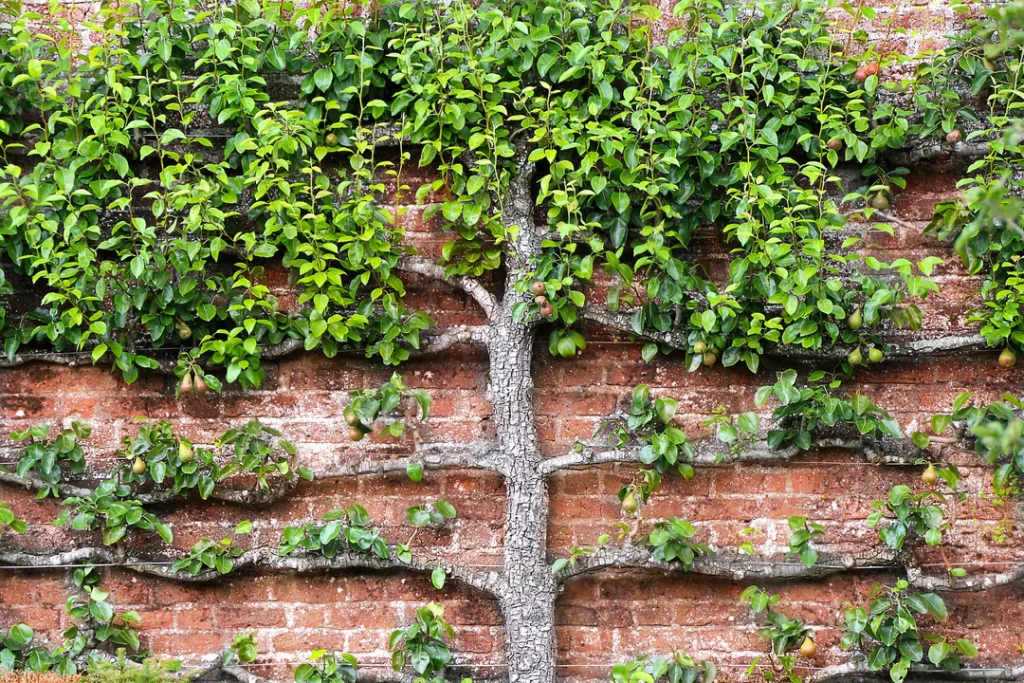
Espaliering an apple tree is not only decorative but a great way to provide fresh fruit for limited outdoor spaces.
It’s important to plan your pattern. Most apple trees are espaliered using 3 to 4 horizontal wires against a fence or between posts. Our Espalar Heavy Duty Universal Kit or our Espalar Post Mounted Heavy Duty kit are perfect for this and come with enough wire to build a 4 wire espalier at least 4 metres long by 2 metres wide.
Choose a location – preferably north facing and a location that gets at least 6 hours of direct sunlight per day.
Prepare the support wires spacing around 400 millimetres apart starting from the bottom.
Plant your apple tree, setting it about 30 centimetres from the wall or fence
Your tree is ready to beginning training. For the first couple of years, while the tree is establishing, remove some of the fruit before it gets too big and this will promote higher quality for the remaining fruit. In spring, cut the whip or leader to where you want the lowest set of branches to form, normally at the first wire. The tree will branch out from where you have cut it back. Select the best 3 sprouts and pinch of the rest.
When 2 of the sprouts grow to about 7 to 8 centimetres long, make them the horizontal arms and begin tying along the bottom wire. Our reusable Espalar plant ties are great for this and won’t damage or restrict the growing plant.
Let the other sprout grow vertically to the next wire (you may need to use a stake), and cut it off again. Once this vertical limb has sprouted, repeat the process described earlier, selecting and tying horizontal sprouts, leaving 1 to grow vertically to the next wire.
As the horizontal shoots grow, continue attaching them to the wires, pinch off shoots that grow towards or away from the fence or wall. Prune frequently and lightly.
Good luck on your project and be sure to bookmark our blog for other helpful Espalier tips!